5 Essential Techniques for Realism Painting
 Kerri Dixon
Learn 5 essential techniques for realistic wildlife art, including value, texture, proportions, color, and focus, plus get a free worksheet to improve
Top 5 Essential Techniques for Realistic Wildlife Art
If you're passionate about drawing animals and creating realistic artwork, mastering a few key techniques can take your art to the next level. Whether you're just starting out or honing your craft, understanding the fundamentals of realism will help you produce artwork that captivates and impresses. In this post, we’ll explore five essential techniques for achieving realism in wildlife art, drawing from my own experience and the recent chat I had with my art community.
1. Mastering Value
Value is perhaps the most critical factor in achieving realism. It refers to the lightness or darkness of a color and is key to creating depth, dimension, and a three-dimensional look. Even if your colors are slightly off, if your values are accurate, the subject will still appear realistic. Value does all the hard work in making the form look believable, while color adds the finishing touches.

A helpful way to improve your understanding of value is to work in grayscale. This helps remove the distraction of color and allows you to focus solely on light, midtones, and shadows. For example, in a recent project, I experimented with a Highland cow by using non-traditional colors while keeping the values correct. The result? Even though the colors were unusual, the form and realism were still there because the values were accurate.
Tip:
Use tools like Photoshop to posterize your reference image into grayscale. This will simplify the values, making it easier to see where the highlights, midtones, and shadows fall.
2. Creating Texture

Texture adds realism to your subject by mimicking the surface quality of the animal—whether it’s soft fur, smooth feathers, or rough skin. The challenge in wildlife art is to accurately convey these textures to make the subject feel believable. Multiple layers, strokes, and tool choices will allow you to build depth and create lifelike
textures. For instance, I always pay attention to how light hits individual feathers or fur and adjust my strokes accordingly.
Techniques for Texture:
- Layering: Build depth by adding multiple layers of pastel or paint, especially for fur and feathers.
- Tool selection: Choose the right tool for the texture you’re aiming to create. For rough surfaces like tree bark or rocks, I use pastel sticks without blending, while I use pencils for smoother textures like an animal’s eyes.
- Directional strokes: Always move your pencil or brush in the direction of the fur or feather growth to create a more natural texture.
3. Proportions and Placement
No matter how beautiful your textures or colors are, if the proportions are off, the painting will feel "wrong." Accurate proportions are fundamental to making your subject recognizable and anatomically correct. It’s all about nailing the initial sketch, whether you use freehand, a grid method, or tracing to get the proportions just right.
In a recent chat, I shared a powerful example: A sculpture I saw looked beautifully executed but felt unsettling due to disproportionate elements. This shows how important proportions are in conveying realism without making the viewer feel uncomfortable.
Techniques for Proportions:
66d6708823f2f_lg.png)
- Grids and line art: These methods help to break down the subject and ensure everything is in the right place.
- Study anatomy: Understanding an animal’s bone and muscle structure can help immensely, even when using reference images. Knowing the underlying structure will guide your understanding of how light creates shadows on the form.
4. Color Choices

Color is essential in creating a lifelike image, especially when working on pet portraits or wildlife species. It’s not just about copying the exact color, but about recognizing subtle shifts in color temperature. For instance, shadows often have cool tones, while highlights can have warmer undertones. Learning to push and pull these color variations helps create a more dynamic and realistic painting.
In a painting I did of one of our black cows, the early morning light added shades of red and brown to its fur on one side, while cool blues defined the shadowed areas. Paying attention to these subtleties makes your subject feel more vibrant and real.
Tip:
Look for reflected colors in your reference image. Light bounces off surroundings like the sky or grass, adding unexpected hues to your subject, which you can push artistically in your painting.
5. Sharp vs. Blurry Focus

The contrast between sharp and blurred areas in your artwork helps create depth and directs the viewer’s eye. Sharp focus on the subject, with a softer, blurred background, makes the painting feel more immersive and draws attention to the most important details. This technique mimics how we see things in real life, with our eyes focusing on one point while leaving other areas softer.
In one of my compositions, I focused on sharpening the detail of a flower while gradually softening the surrounding leaves and background. This created a sense of depth, pulling the viewer into the scene.
Tip:
Decide which areas of your artwork should be sharp and which should be soft. Focus on creating sharp details where you want the viewer’s attention and blur the less important areas.
Final Thoughts: Patience and Practice
Realistic wildlife art is challenging but incredibly rewarding. It requires patience and time to master these techniques, but the results are worth it. Whether you’re drawing a smooth horse’s eye or a textured elephant’s skin, applying the right techniques will bring your artwork to life.
To help you get started, I’ve created a free worksheet that covers these five essential techniques. Download it below and start improving your realism skills today!
Download the Realism Techniques Booklet
Keep practicing, and remember that with time and dedication, your art will continue to improve. If you have any questions or want to share your progress, feel free to leave a comment or join my membership for more in-depth guidance and tutorials.
Happy drawing!
Kerri xx
PS: Ready to take your artistic journey to the next level?
Start by joining our vibrant Facebook Group community today, then click the link below to get started on my FREE Beginners Guide to Soft Pastel Video Series!
Click the link here to start your pastel adventure!
Categories: : artist, beginner, educational, fundamental
Want to learn about Soft Pastels?
Click on the button to register and get instant access to the free Pastel Basics for Beginners workshop.
Listen as I walk you through the essentials supplies needed to get started in Pastel painting.
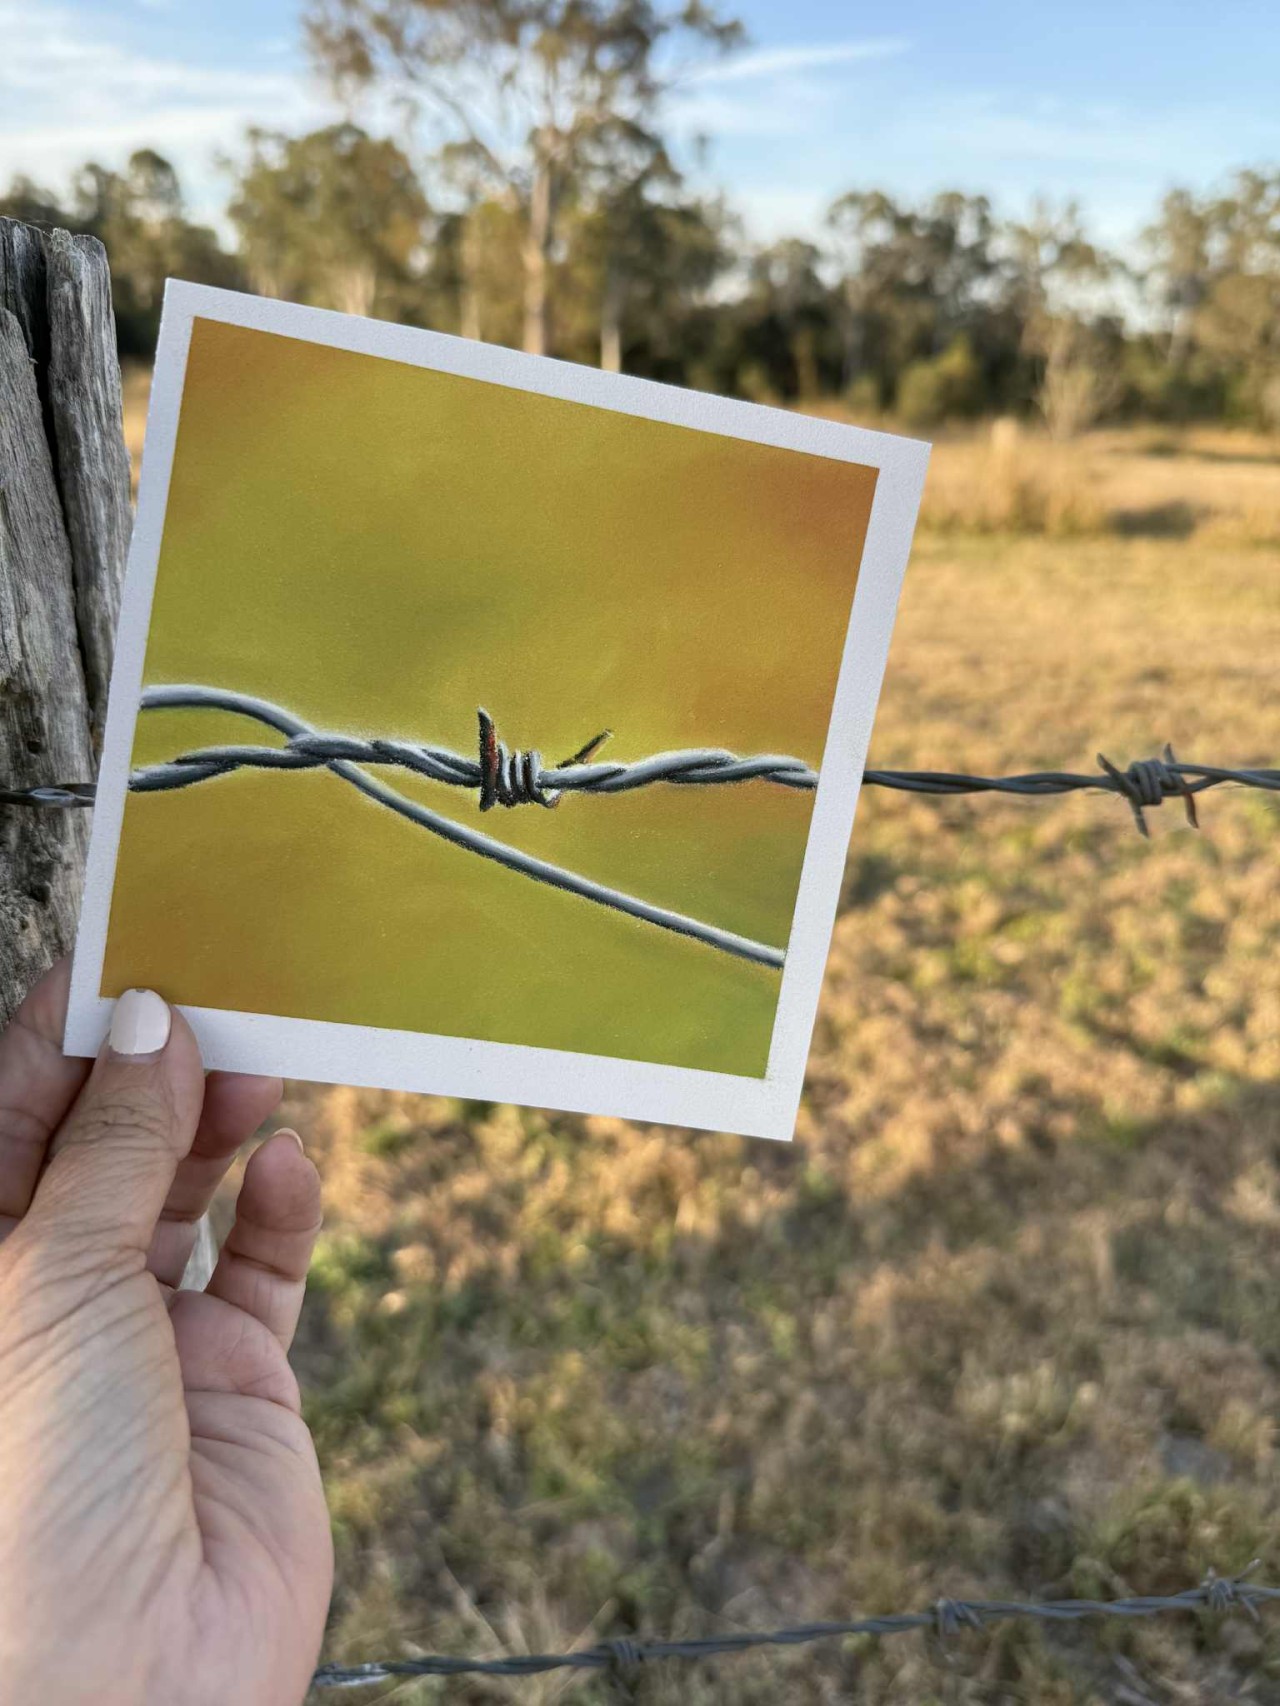
I teach you how to create this little barbed wire piece during the class. Everything you need is in the PDF workbook you'll receive when you register.